Monday 4 November 2013

Hot Pink Studs

Hey guys! Long time no blog right? I'm sorry, my life in Japan has just been so hectic, and unfortunately I don't think it's going to calm down so my blog posts will probably be pretty spaced out. I barely even have time to paint my nails these days, and because the weather has just turned cold my nails are becoming brittle and snapping :(

Today I have the second half of my Born Pretty Store review for you. Once again, I'm so sorry that it took so long to get this up. In addition to the Little Twin Star decals that Born Pretty sent me, I also received some hot pink studs and container to hold all my little nail art bits and pieces. The container is pretty tiny, measuring 13cm x 5cm x 1cm, but despite the tiny compartments it holds A LOT as you can see from my photos, and it has been super handy on this trip to Japan since I had to pack relatively lightly while still fitting my whole life into a suitcase.


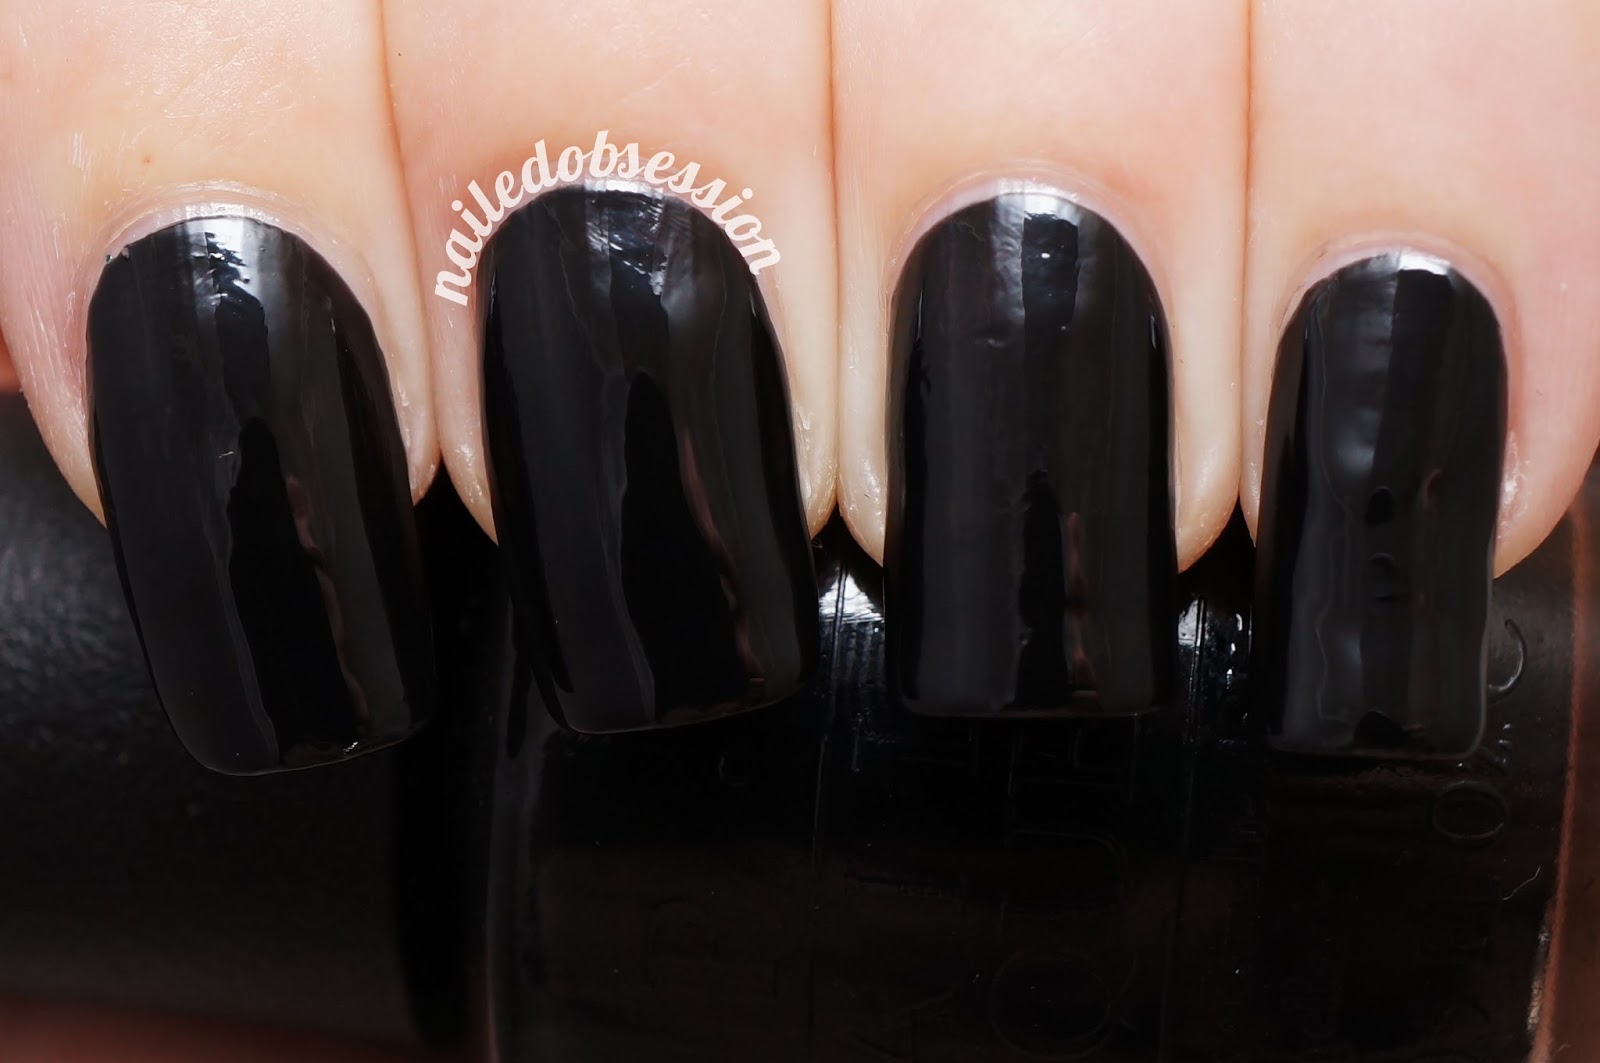
The hot pink studs...well considering I love studs and I love pink, I was super happy to get these to try. These studs have a bit more height to them than some of the other studs I own (the curve of the dome is rather pronounced), so if you're one of those people who don't like bumpy nails then these might not be for you. Despite their extra height though they stayed put just as well as my other studs and I had these on for 4 days before any of them fell off. If you're unsure how to apply studs, I wrote a tutorial for Lacquerheads of Oz that you can see here. The polish I've used in the photos below is OPI 'I Don't Give A Rotterdam!'


The container can be found on the Born Pretty website here, and the studs here. Born Pretty ship worldwide, and shipping is free. They've also given me a code that will get you guys 10% off all your orders, HAIRG10.

Sunday 22 September 2013

Little Twin Stars Water Decals

Hey guys, I know it's been over a month since my last blog post, I'm a bad blogger! I promise I have a good reason though, I'm currently living in Japan for 6 months doing a student exchange as part of my uni degree. Eeek! So as you can imagine I was a bit preoccupied preparing for my trip and actually moving here. I've been here for nearly 3 weeks now, and to be honest I'm not sure how much time I'll have for blogging, but I'll try and do the occasional post whenever I can.

Today I have a review for you of some water decals sent to me by Born Pretty Store. They have the Little Twin Stars on them and are so adorable!


The instructions on the back are very self-explanatory despite the slightly broken English, and the decals are extremely easy to apply and even those who are beginners shouldn't have any problems with application.


And here is the final result. I layered the decals over China Glaze 'Something Sweet' and my other nails have Sayuri 'Sugar Coated Dreams' layered over Essie 'Bikini So Teeny'.


My Cinderella hand...excuse the nubbin and dry cuticles >.<

These decals are the BLE1788 design and can be found on the website here (they're even on sale at the moment!). Born Pretty Store ship worldwide, and shipping is free. They've also given me a code that will get you guys 10% off all your orders, HAIRG10. So what do you guys think? Have you ever tried water decals? If you haven't do you think you'll give them a go?

Tuesday 13 August 2013

Dauphine of Decadence

Hey! Look at me, I'm blogging! Once again it's been awhile since my last blog. I'm sorry (again). I'll let you guys know in the next couple of weeks just why it's been so quiet around here...

Today I have another HARE Polish to show you, this time it's 'Dauphine of Decadence'.

Lamp light

Lamp light

Lamp light

'Dauphine of Decadence' is a clear based glitter topper filled with gold and baby blue glitters of different shapes and sizes along with a subtle gold shimmer. Loooove this one. I've layered it over OPI 'My Vampire Is Buff', but I also put it over OPI 'Skull And Glossbones' on my swatch wheel when I was trying to decide what to layer it over and it was an equally good layering combo. I nearly did half and half because I couldn't decide which was better! Like the others from the Last Queen of France Collection that I've tried this one cracked on my nails after 24 hours as you can see on my index finger in the photos. Very sad. I've yet to hear of anyone having the same problem so I guess it's just my bad luck! (And yes, I've tried using different top and base coats).

Bottle shot

Sunday 4 August 2013

Crystal Dreams Collection

Hey guys! Tonight I have a long post for you, because I'm showing you swatches from the new Sayuri Nail Lacquer collection Crystal Dreams. I'm so glad that I can finally show you these, because it explains my blogging absence of late. Creating polish is time consuming you know!? Let's get stuck into it before I start rambling...


Galaxy Magic
Galaxy Magic is a clear based glitter topper packed with large black dots, black rectangles, and small hex glitters in black, neon pink, neon blue, neon green, and neon yellow (all the neons!). The rectangle glitters apply just like hex glitters, so haters of bar glitter need not fear!

One coat over Essie 'Blanc' with top coat


Neo Plasma
Neo Plasma consists of a white crelly base packed with neon green, watermelon pink, grape, and lavender hexes with a fine holo shimmer. A mixture of neon and pastel in one!

Two coats with top coat


Clouded Skies
Clouded Skies is a creme polish, a first for Sayuri but it definitely won't be the last. A blue polish with a grey undertone and a silver shimmer, this is a perfect choice for beginners and polish addicts alike, opaque in two coats.

Two coats with top coat


Crystalline
A baby pink jelly polish with a neon undertone packed with iridescent hexes of different sizes. This one can be built up in 3 coats or layered over another pink polish (recommended if your nails are a bit stained like mine!), or one coat can be applied for a work-appropriate mani with a touch of sparkle.

Two coat over A England 'Iseult' with top coat


Candied Visions
Candied Visions is a mint green creme polish with a linear holographic effect. Make sure you wear this one in the sunlight to experience it's magic! I recommend wearing this one without a top coat as some top coats can dull the holographic effect.

Three coats, no top coat


Sugar Coated Dreams
The second glitter topper in the collection, Sugar Coated Dreams contains no less than 10 different glitters. There's white and aqua stars, candy pink dots, and hex glitters of different sizes in lavender, aqua, white, candy pink, and pastel yellow. A subtle white shimmer in the base adds a little extra magic.

One coat over Essie 'Bikini So Teeny' with top coat


Psychadelia
The final polish in the collection, Psychadelia is a black based polish filled with shards that shift from purple to gold (and if you have curvy nails unlike mine it will shift to teal too!). This one will build to opacity in three coats, but to really amplify the duochrome shift I recommend layering it over a black polish.

Three coats over OPI 'Black Onyx' with top coat

Three coats over OPI 'Black Onyx' with top coat

Three coats over OPI 'Black Onyx' with top coat


And that completes the collection! Which are your favourites? The Crystal Dreams Collection will be available for purchase to those of you in Australia from the Sayuri website from Monday August 5th at 9pm AEST. The Collection will be available internationally from Mei Mei's Signatures (who ship worldwide) within the next fortnight. Fingers crossed that life will calm down for me a little now and blogging can go back to normal!

Tuesday 30 July 2013

piCture pOlish Blog Fest 2013 Voting

Hey guys, voting for the piCture pOlish Blog Fest 2013 is now open! I'd love it if you voted for me, but I know there are a lot of wonderful entries this year! Head on over to the PP website to vote now, there's polish to be won!


Monday 29 July 2013

piCture pOlish Blog Fest 2013

Hey guys! I still have a heap of backlogged manis to show you (which is probably a good thing because I've just had a devastating break on my swatching hand so I won't be taking photos of my manis for awhile), but today's post is part of piCture pOlish's Blog Fest for 2013. Wooooo!

The theme for this year is the 'Year of the Blogger', celebrating bloggers and what we do (which for me lately hasn't been much! Sorry!). The colours I was provided with for Blog Fest were 'Wisteria', 'Marine', and 'Peaches n' Cream'.

L-R: 'Wisteria', 'Marine', 'Peaches n' Cream'

As part of Blog Fest, we're challenged to come up with some nail art containing the three colours we've been sent. I'm not going to lie, this was one hell of a challenge for me. Although they look fine on screen and they're beautiful on their own, in real life I found that these three colours clashed and I pulled my hair out for about 3 weeks before coming up with this final design, using the black to offset the clash:

Lamp light

Lamp light

I also have a little tutorial for you. Here goes!

Step 1: The night before you do your mani, paint some polish onto sticky tape/baking paper and leave to dry overnight. I used 2 coats of 'Wisteria' and 'Marine' and 3 of 'Peaches n' Cream' for opacity.


Step 2: Carefully peel the strips of dried polish from the sticky tape/baking paper and cut them in to small rectangles. Mine were approximately 8mm by 5mm.


Step 3: Apply a protective base coat and then paint your nails black.


Step 4: Once your black polish has dried, apply a clear coat of polish and use tweezers to position the polish pieces and some studs on your nails. You'll need to work quickly while the polish is still wet.


Step 5: Apply a clear top coat to smooth out the polish pieces and hold the studs in place and your done!

What do you guys think? These are my first piCture pOlish shades, and they won't be my last. They apply smoothly and I love that 'Wisteria' and 'Marine' are opaque in 2 coats.

PiCture pOlish products are available worldwide both via their website and distributors. Check our their shipping and network pages for more info. And don't forget to follow them on Facebook, Pinterest, Instagram, Twitter, and YouTube. There will also be 'Blog Fest Awards' where you guys can vote for your favourite design on their Pinterest page so go check that out!

Here's a list of links to some of the others involved in the piCture pOlish Blog Fest:


Disclosure note: The product/s in this post were provided for review. This did not affect my opinion of the product/s.

Monday 22 July 2013

The Teen Queen

I'm a terrible blogger! I'm so sorry! It's been 2 weeks since my last post and life has just been so hectic I've barely had time to think let alone blog. I have a bit of a backlog of manis to post, I'll do my best to get them up as soon as I can. Slow down life!

Today I have yet another of the polishes from HARE Polish's recent Last Queen of France collection for you. This is 'The Teen Queen'.

Lamp light

Lamp light

'The Teen Queen' is a clear based glitter topper with a subtle blue shimmer and baby pink and neon blue hexes. I love the pastel/neon combo in this one. I've layered it over Lime Crime 'Once In A Blue Mousse', OPI 'Mod About You', and China Glaze 'Sweet Hook'. Unfortunately like the others from this collection that I've tried this one cracked after 24 hours too. Surely I can't be the only one having this problem? I've tried both Poshe and Seche Vite top coats and with and without PVA base coat all with the same outcome. This makes me really sad because I would rate the polishes from this collection among some of my favourites in my stash at the moment but I'm hesitant to wear any of them again :(

Bottle shot

Thursday 11 July 2013

Let Them Eat...What?

Hey guys, a quick post today. Let's jump straight to the photos!

Full sunlight

Full sunlight

This is HARE Polish 'Let Them Eat...What?' from their recent Marie Antoinette inspired collection. 'Let Them Eat...What?' is a soft white crelly filled with bright orange, baby pink, white, and gold glitters of different shapes and sizes. The bright orange and baby pink are an unexpected combination that work surprisingly well together, and I love the way the orange pops. My photos show 3 thin coats and I had no problems with application.

Bottle shot

I do have one gripe though, and it seems to be a common issue with all of the 'Last Queen of France' collection (or at least it has been with the 3 polishes that I've tried from the collection so far). The polish is cracking within about 24 hours of application. Normally this wouldn't be much of a problem, but since I use a PVA base coat to make glitter removal easier it means that water is able to get to the PVA when I wash my hands, which causes it to re-moisten and peel off my nails. You can just see on the right hand side of my index nail where it has started to crack and peel. I absolutely love all of the polishes from this collection that I've tried so far, but unfortunately I don't know if I'll wear any of them again because of their short lifespan. And I desperately want to wear them again, they're beautiful! I has a sad :(

Has anyone else had this problem with the 'Last Queen of France' collection? I've been using Seche Vite as a top coat but I might try Poshe next time I wear one from the collection and see if that makes a difference. Let me know if you've had a similar problem and know how to fix it!

Monday 8 July 2013

Holo Hearts

It was my 5 year anniversary with the boy about a fortnight ago, and I wanted to do something fairly simple and neutral because we were going to the ballet. I'd received my very first linear holo polish in the mail a few days earlier (yeah, my first real holo, I dunno why it took me so long to acquire one), and since it had been really sunny I decided that it was the perfect time to try it. WRONG. The day after I put it on the weather was overcast and raining, and I kept the polish on for 5 WHOLE DAYS even though it was severely chipped because I was desperate to see my first holo in the sun. Sadly it never happened, although the day after I took it off the weather cleared up. Go figure. Anyway, this was my anniversary mani:

Lamp light

Lamp light

Lamp light

The holo I used was Butter London 'Fishwife' (3 coats with no top coat) and I paired it with OPI 'Don't Pretzel My Buttons'. I created the heart by cutting the shape out of a piece of tape and using it as a stencil (you can see The Crafty Ninja's tutorial here). All my photos were taken in the lightbox so sadly the holo isn't very strong, but from a couple of glimpses that I caught under the right lights I bet this one packs a punch in the sun. This definitely won't be my last holo!